How to add Pictures / Documents
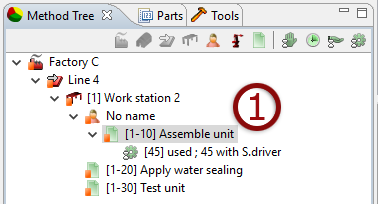
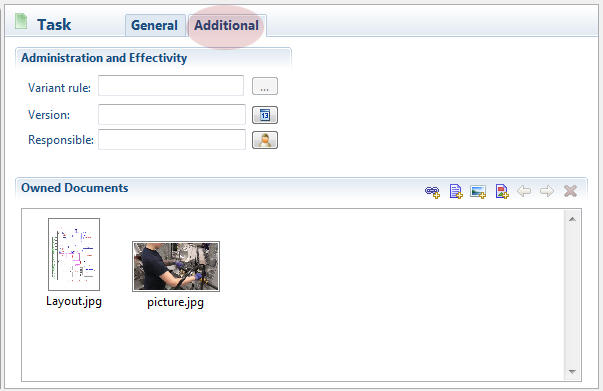
- Select level to add picture/document.
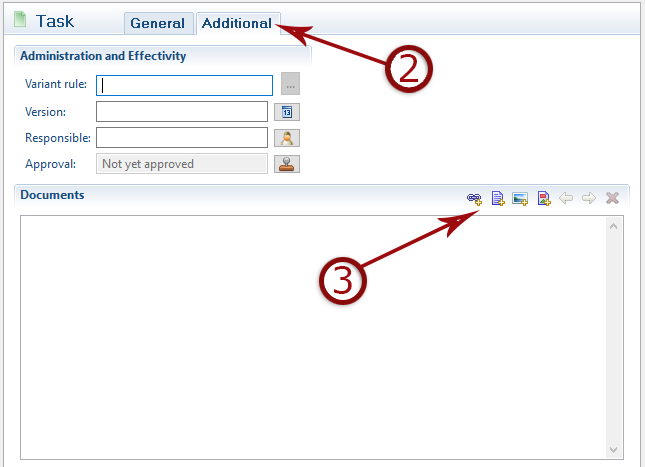
- Select additional tab.
- Choose to link or add document/picture/markup.
To add a link to a document means to store the path to that document. If you move that document, the link will point to an empty location and will not work. If you add a document/picture, it will be stored in the AviX file and will increase the size of that file.
Documents linked at workstation level will appear as hyperlinks in the detailed task instruction. Pictures added at task level will appear in the detailed task instruction.
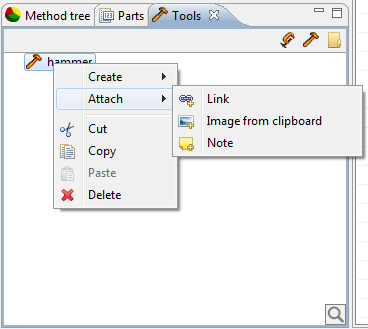
It is also possible to add pictures/documents using right-click -> copy and then pasting in AviX. This also works if you have made a print screen and want to add the image in AviX. The document/picture can be added to all levels in the method tree.
- right-click -> copy a picture or document.
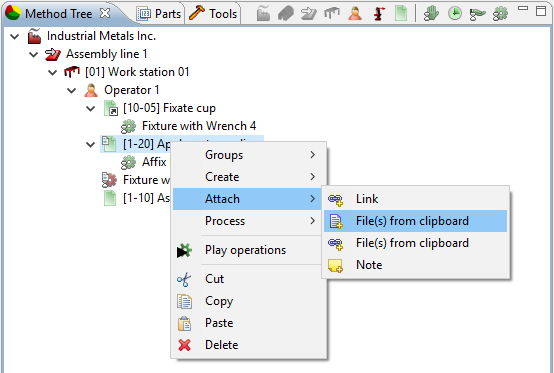
- In AVIX, select a level in the method tree, right-click and select “Attach”.
It is also possible to add pictures/frames directly from the video player. The quality of the picture will be the same as the video quality.
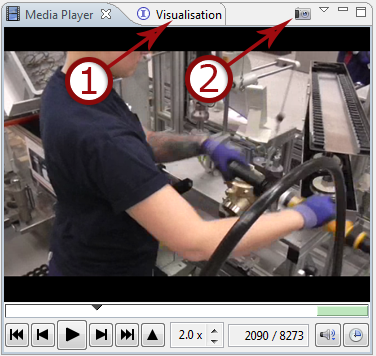
- Added/linked pictures are presented in the visualisation tab.
- This button takes a picture from the video and adds to task.
Finally, it is also possible to add images/documents to parts and tools.
Either by right clicking or by the additional tab.