Installing as Windows service
installation methods
AVIX server installation is done slightly different depending if it is an official release or a temporary release.
Installation media Official releases
Official releases come as a Windows installer. Download the installer for AVIX Server.
Run the installer, AVIX Server v23.4.7 (64-bit).exe (or similar). The installation wizard gives you the option to install the server as a service.
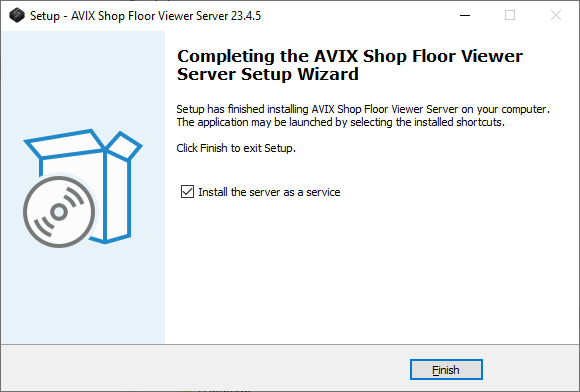
You will get three pop-up dialogues where you have to allow that Apache Commons Daemon Service Runner makes changes to the unit when you select Install server as a service.
Installation media TEMPORARY RELEASES
Download the installation media, the server zip archive. If you don´t have a download URL, ask your contact at Solme AB to get one. The downloadable unit is entitled "se.solme.avix.server.product-win32.win32.x86_64.zip" or similarly.
Unzip zip Archive
Unzip the server zip file at the host where you intend to install it.
Avoid white spaces in the path!
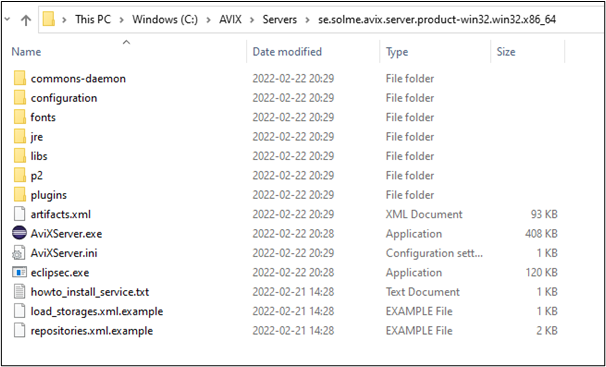
The unzipped content will look like this:
Carry-over (Server upgrade)
This is only relevant, if you have an existing server installation, i.e. if you are upgrading to a newer server version. The server may have some settings and configuration files, which you will need to carry-over (copy) to the new installation:
- The database folder (in case internal h2 db has been used)
- configuration/se.solme.avix.prefs
- load_storages.xml
- repositories.xml
- host.id
- Also, check that the jvm parameters are to your liking (for instance the XMX memory)
- They are reset to default value when re-installing (as per contents in "commons-daemon/register_service.bat" script)
- Please refer to "JVM memory assignment" section for further information.
Before the next step, installing the service, it is recommended to stop the "Solme AviX Server Service" in the Windows Services manager.
Install as Windows Service
- Open a command prompt with administrative privileges
- Press Windows key to open the Start menu. Start typing "cmd" to get Command Prompt application to appear
- Right-click and "Run as administrator"

- In the opened Command prompt, navigate to the unzipped AVIX server directory
- Tip: use the change directory command. Example: "cd .." to move one step up. "cd temp" to open a directory called temp.
- Tip: The command "dir" will display contents of current directory.
- Assert you are in the root directory of the AVIX server. Using the example screenshot from the "Unzip" section above, the "C:\AVIX\Servers\se.solme.avix.server.product-win32.win32.x86_64" directory.
- Install the service, by running a batch script file:
- Type: commons-daemon\register_service.bat (tip: start typing ”co..” and press TAB) Press "Enter" to run the installation script.
-


Verify service installation
Open Windows Services manager. Locate the "Solme AviX Server Service":
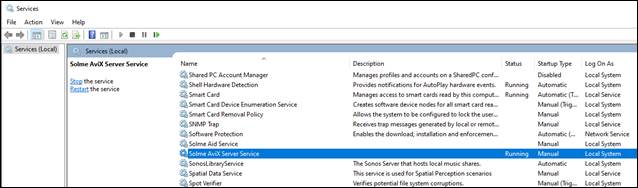
Verify that the service is running the AVIX server you just installed: Right-click and select "Properties":
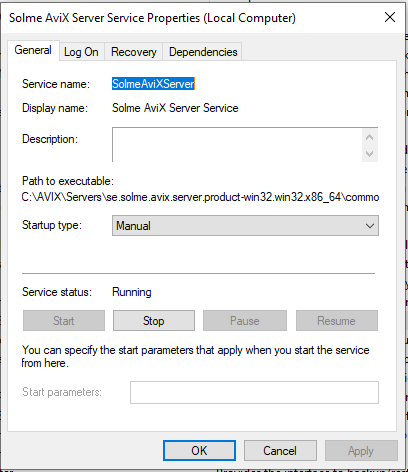
Verify server installation
Check that ports are open (by default TCP 2036 and 45500)
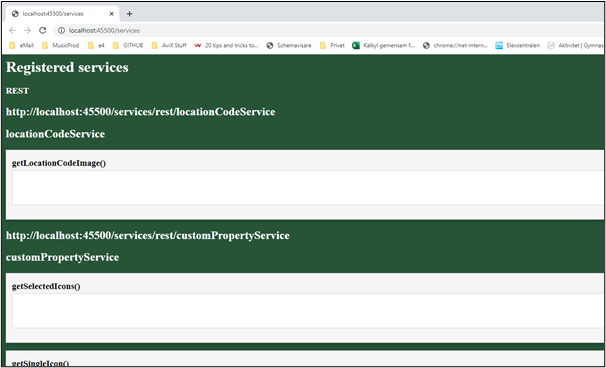
In case you are working on the host where the server is installed, try: http://localhost:45500/services
If working as intended, you should see something like this: